ECO Frames are so cool. Being able to replace the mesh on your own time is extremely helpful for any printer. In-House Printing Expert Colin Huggins walks you through each step to ensure you make the best, high-quality screen that you possibly could.
Here are a few highlights to remember as you assemble your frames:

The tag on the mesh notes the mesh count. It also mentions the thread diameter, which will either be Hi-Tex or Hi-Dro (learn more about the difference between the two meshes here).

The biggest difference between the ECO Frames and other snap-and-lock frames on the market is that ECO Frames stitched in the plastic strips. Glue or adhesive isn't used. Being stitched means that there's no chance the mesh will fall apart from screen reclaim or cleaning chemistry.

THE MOST IMPORTANT STEP! Take the plastic strip and flip it over once before you place it in the locking strip. We cannot stress enough how important it is to flip the plastic strip.

Once you've flipped the plastic strip, place it in the locking strip and center it. Next, do the opposite side. Do the long sides first, and then the shorter sides.

The tag within the mesh may be difficult to place within the locking strip. Use a gentle, but sturdy object like a squeegee blade to push the tag into the locking strip.

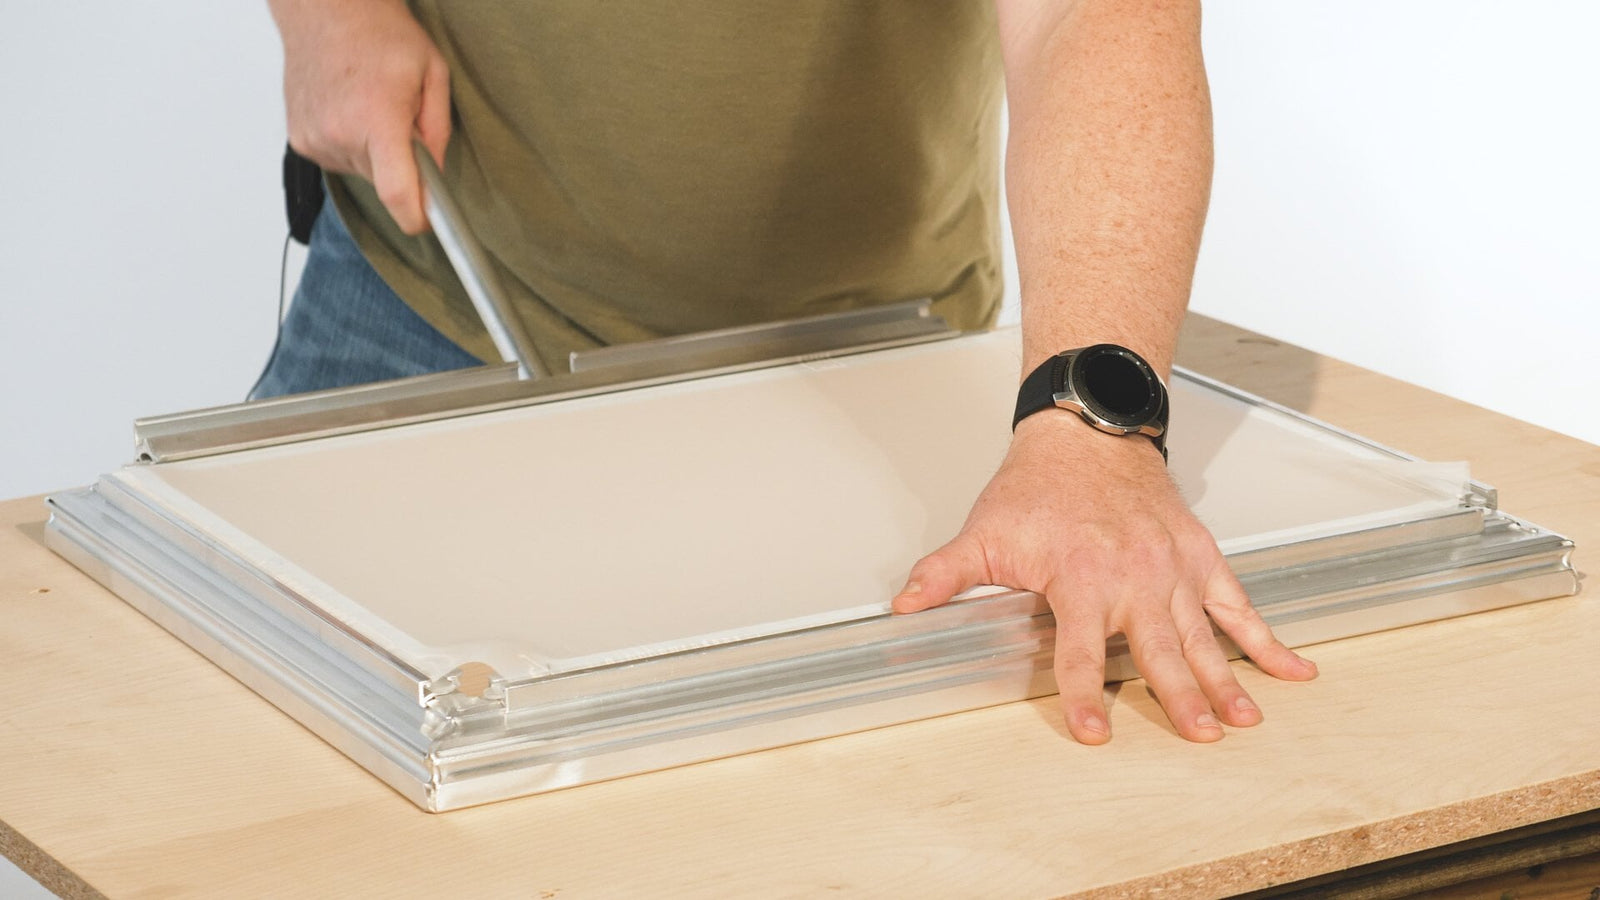
Time to tighten the mesh. Stretch the long sides first. You'll hear a snap, which means it locked into place.

SECOND MOST IMPORTANT STEP. Do not pull the stretching tool hard and fast. Stretch slowly with control. If you pull too quickly, you may hit a breaking point within the mesh.

If you have a tension meter, use it to see where your screen is at. Measure the tension the long and short side of the screen. The initial tension will be high, no matter the mesh count or thread diameter you're using. As the mesh settles, the tension will drop. Wait 12 hours to see the tension even out. To protect the mesh, tape up the outside edges where you locked the mesh in.
If you still have any questions or concerns, please reach out to us and we'll help you figure it out!