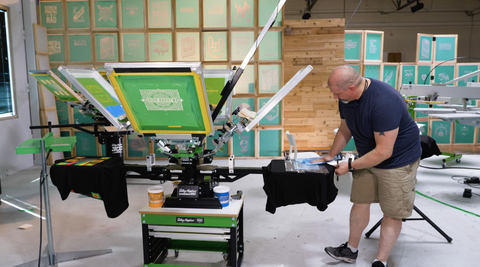
Got your brand new Riley Hopkins 250 Press, but not quite sure how to register it? In our latest video, expert Colin Huggins goes through each step of the registration process by using the four-color design he created in the video about creating a white base in Illustrator. He offers a ton of helpful tips to ensure your print job stays in place. Watch and learn!
LEVELING THE PRINTHEADS
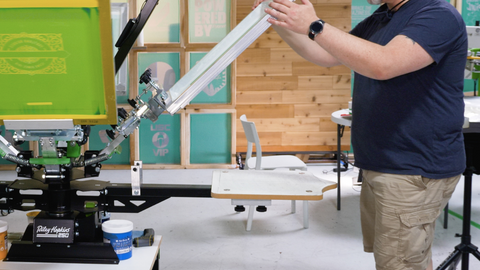
Place all the screens you'll be using in the screen clamps.
Colin demonstrates an old-school way to test the levels of the printhead. He places four quarters in the corners of the platen. You don't have to use quarters, you could use something similar like washers; essentially, you need four small, flat items that have the same thickness so you can properly see whether or not a printhead is level.
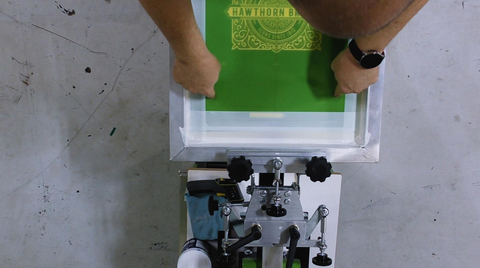
Bring a screen down to touch the platen and twist the knobs to lock it in. Press your fingers into the mesh where the quarters are. Test from side to side and front to back. You'll be able to feel whether or not if it's off. If you do need to adjust your printhead, grab a wrench and loosen the side clamp bolts. Once loosened, you'll be able to adjust the printhead to the correct position. Remember, you're basically setting the off-contact. Whether you want the screen to be completely flushed with the platen or slightly off, it will depend on what you want. Retighten the bolts once finished.
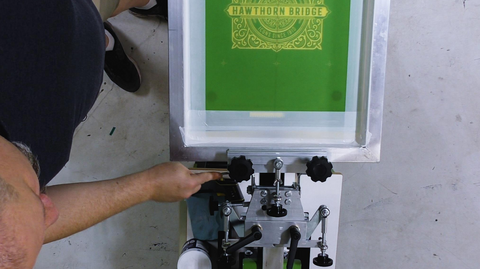
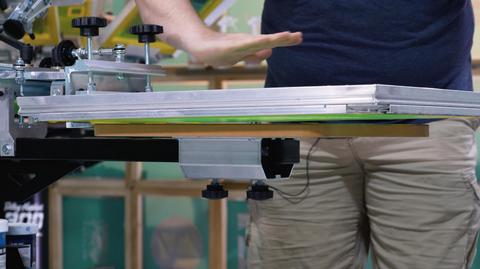
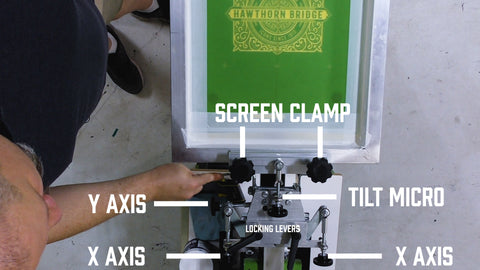
SETTING UP THE TILT
On a manual press, you typically want the front of the screen to be a little bit higher than the back (it helps lift the screen off the garment after you finish pulling the squeegee). Loosen the wing-nut between the screen clamp knobs and the bolt underneath the screen clamp. Now you'll be able to twist the knob between the screen clamp knobs to tilt the screen up and down. Slightly tilt the top of the screen (where the printer prints) up. You don't need to tilt it a lot, just a little. Once it's set in a good position, lock the bolt and wing-nut. Double check with the quarters to ensure the head is still level.
Bring the screen up and shake it a little. Why? The printhead has several parts to it, which all can move and clamp together. Think of the printhead as a tectonic plate, with more pressure (coming from the clamping), the more tension it creates. If too much tension builds up, an earthquake happens. By giving the screen a shake or a bounce, you send vibrations down to the printhead, which loosens up the tensions. Do it every time you register a new screen and you'll be set.
CREATING MORE OFF-CONTACT
The 250 does not have the Z tilt (the micro that helps bring the whole screen up and down, needed for switching from thinner to thicker garments) like the 300 has. To make that adjustment, place your quarter on the off-contact bracket. It's a small adjustment, but it makes a big impact. You won't have to re-register your screens. You may want to find something thinner than a quarter. As long as you find a material that maintains its width, you'll be able to place it on all the brackets and maintain consistency.
REGISTERING EACH SCREEN
To register each color, Colin likes to line up the screen with the white base. There are a couple of ways you could approach this step. First way is to use the white underbase film, tape it to the platen, and line up each screen to it. Another way is to print the base white and register the colors on top of it (that's what Colin does, so we're going to dive into his process).
STEP ONE
Align the screen to the black center line on the platen. You may need to adjust the screen (like bringing it a little up from the clamp) to set it where it needs to print on the shirt. If you do need to shift the screen a bit, double check to ensure it's still in the middle. The screen may also shift after you clamp it down, so it's always best to double check before moving onto the next screen.
Insider's Tip: When tightening the screen clamps, you want to tighten the knobs at the same time with the same amount of pressure to maintain consistency.
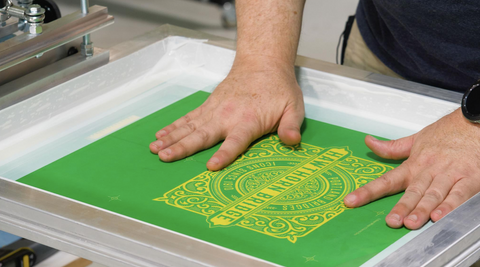
STEP TWO
Print the base white (with registration marks) on either a test shirt or test pellon and flash the white base. Make sure you use an adhesive to keep the shirt or pellon down!
STEP THREE
Bring each screen down on the white base and align it to the registration marks. Take note that when you pull a squeegee, the mesh will follow the squeegee a bit (the screen will move slightly towards the printer). Colin registers the colors to be slightly below from the registration marks on the white base to counteract the potential pull and keep the print registered. Again, you may have to move the screen in the clamp. Make sure to double check that it's centered and leveled once it's positioned correctly.
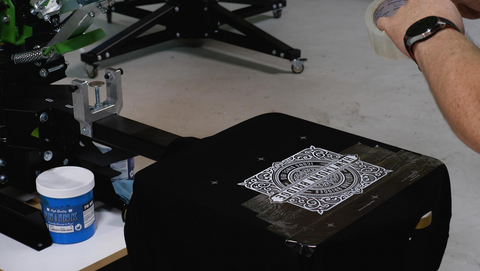
STEP FOUR
Once all the colors are dialed in, place packaging tape across the white underbase. Make sure it covers the whole print, including registration marks.
STEP FIVE
Bring over your first color and print it on the taped underbase. Check it out to ensure that it's truly registered to the white base. If it isn't, wipe off the ink from the tape, readjust the screen, and print again.
This is where your XY micros come into play. If you need to move the screen slightly to the left or right, towards or away from you, use the micros. It's important to note that the micros respond quickly. You won't feel the shifting, so be careful not to overdo it. The more you play with the press, the more you'll understand how the micros work.
Once it looks like it's registered, lock up the locking levers, wipe off the ink, and move on to the next color.
STEP SIX
After you tested all the colors, test them again. It's good to double check to see if the movement from spinning the screens had misplaced the registration.
STEP SEVEN
Lastly, remove the tape. Now, print on the shirt itself to triple-check the registration.
Now you know that you make a beautifully registered print! That was a ton of information. Eat some food, sleep on it, and watch this video again. If you still have questions, please reach out to us either by phone, 1-800-314-6390; by email, success@ryonet.com; or by chatting with us in the messenger on the website. Keep #PoweringThePrint!