We learned about printing white plastisol ink on a black shirt, but what about black plastisol ink on a white shirt? In our latest video, expert Colin Huggins explores the nuances of printing black plastisol ink on light-colored garments.
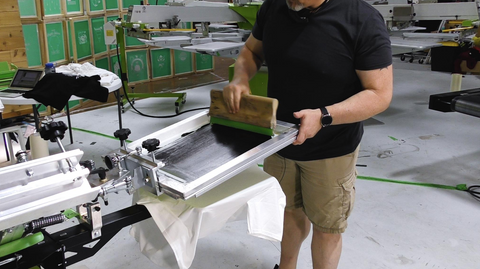
FLOODING THE SCREEN
Before you push or pull the squeegee, flood the screen with the ink. Use the squeegee to lather a layer of the ink across the screen. When you flood the screen, you fill the stencil with the ink, which ensures that the ink does fall through the mesh completely when you print.
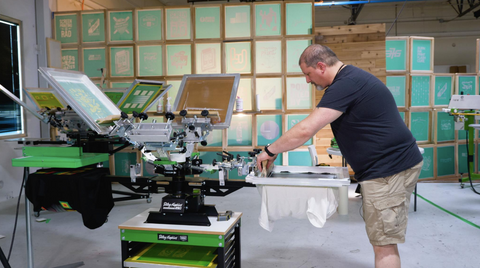
SQUEEGEE PRESSURE
In the video, Colin uses a thin thread mesh. When using thin thread, you do not need to use as much pressure as you would with standard mesh. As the name suggests, thin thread has thinner thread and therefore, has larger holes. More ink is able to pass through easily, which is why you do not need to use a ton of squeegee pressure.
The perk of using less pressure means the ink can stay on top of the fabric rather than being smushed into the fibers.
In the video, Colin only has to do one pass for the ink to properly bridge the shirt's fibers. If you're looking to lay down more ink, use a squeegee with a 60-90-60 durometer because its soft edges will hydroplane the ink and as a result, put down more ink.
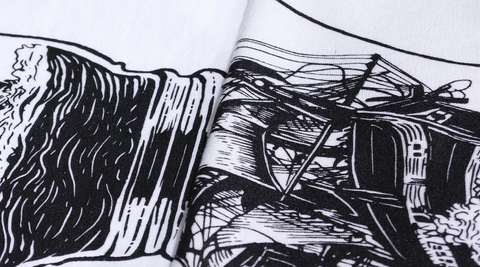
RINGSPUN VS. CARDED OPEN END SHIRT
As you can see, both prints on the two different shirts look great. The ink fully bridged the fibers, meaning it's sitting nicely on top of the shirt's fibers. The biggest difference between the two is the feel of the shirt. Ringspun shirts will have a softer feel. Ink takes on the characteristics of the shirt, so the black ink feels softer on the ringspun tee compared to the carded open end shirt.
What feel you go for depends on what you or what your customer wants. Do they want a fashion soft print? Go with ringspun. Do they want a durable, long-lasting print that doesn't have any white fibers show through? Go with the carded open end shirt.
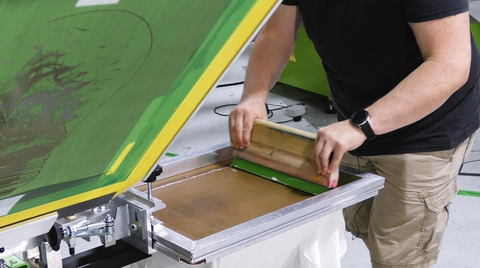
MAKING THE PRINT EVEN SOFTER
You can try two different ways to make the print softer, if that's your end goal.
First way is to use a smoothing screen. Yup, we're back to the smoothing screen! After you print, flash the print, and then use the smoothing screen. The flash warms and gels the ink, which makes the print pliable. The smoothing screen presses the fibers into the shirt, which makes the ink slightly thinner and embeds it lightly into the shirt. The end result — incredibly smooth, glossy, soft print with no fibers sticking up. If you don't know how to make a smoothing screen, check out this video.
The type of plastisol ink you use can also influence how soft the print will be. For example, FN-INK™ is naturally a softer ink. The ink is flexible and it's easy to move it around. Other plastisol inks like Wilflex ink have thicker bodies, which will lay down a thicker deposit that makes the print more durable. Again, what ink you go with depends on what you or your customer wants.
LEARN MORE ABOUT CREATING SOFT-HAND PRINTS WITH PLASTISOL INK
PRODUCTS USED IN VIDEO:
- Riley Hopkins 250 4x2 Press
- Black FN-INK™
- Eco Frames with 157 Thin Thread Mesh
- Ryo Flash Dryer
- Baselayr Complete
- Wooden Squeegee (70 Durometer)
- Port & Company Essential Tee
- Allmade Organic Cotton Tee

