Different mesh counts are used for different applications in the screen printing process. What is mesh count? Well, mesh count is a measure of how many threads of polyester (used to be silk, centuries ago, hence ‘silkscreening’) cross each other per square inch of the screen. For example, a 110 mesh screen would have 110 threads crossing per square inch. The higher the mesh count, the finer the holes are in the screen.
FACTORS THAT DICTATE WHICH MESH COUNT YOU USE
The first factor you should keep in mind when choosing a mesh size is how detailed your image is. For example, your image has extremely high detail, a low mesh screen simply wouldn’t hold the detail. The fine lines or dots in the image would simply fall through the holes in the mesh, leaving you with a poor representation of what your image should be. If you have a low detail image and you use too high of a mesh count, you’ll run into issues of not getting enough ink to lay down on the shirt.
The other important factor to keep in mind would be the thickness of your ink itself. Thinner inks, such as water-based ink, generally require a higher mesh count. If too low of a mesh count is used, then the thin ink could potentially flood through the larger holes, soaking your garment with more ink than intended. Flooding your garment would make your image blurry as the ink bleeds. On the other hand, if you’re trying to print with a thicker ink, such as plastisols or white inks, you’ll want to consider lower mesh counts. Too high of a mesh count and you may run into an issue with inks not easily wanting to pass through the mesh, which could lead to opacity and coverage issues.
DIFFERENT MESH COUNTS AND WHAT THEY MEAN
You will notice that different companies have different sizes available. If the mesh count is fairly close, such as the difference between 155 vs. 156, 196 vs. 200, or 81 vs. 86, the difference is so negligible that it will not matter in your final results. Since there are many variables involved in silk screen printing, we can’t tell you exactly what mesh sizes are used for what applications. However, we can give you a general outline of what sizes to use for certain types of printing.
STANDARD MESH SIZES
110 MESH COUNT
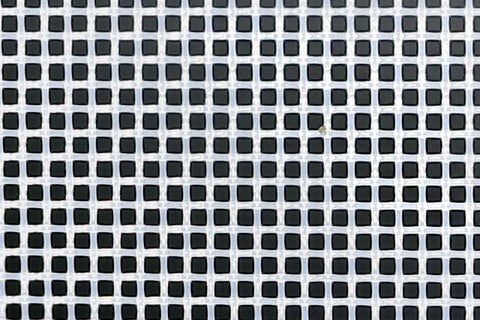
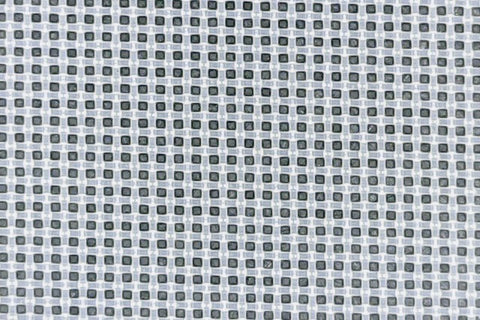
The two most standard mesh sizes are 110 and 156. A mesh count of 110 will lay down a fairly thick layer of ink. This mesh is great for block text letters and larger spot color designs. It’s also a recommended mesh for your underbase because you will only have to do one pass, which speeds up production. 156 mesh will lay down a moderate amount of ink, but offers more detail capability for your image.
156 MESH COUNT
LOW MESH COUNTS
38 MESH COUNT
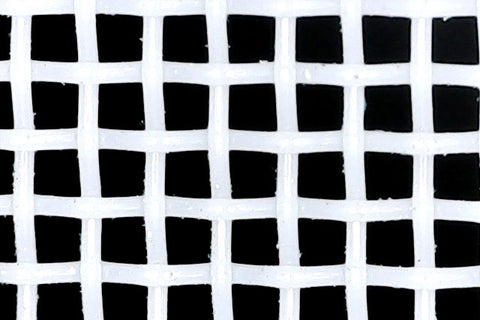
There are mesh counts lower than 110, and they are most often used for specialty printing. The major place you will see lower mesh counts used is for glitter and shimmer inks. These inks are made special to have flakes of glitter in them to give the desired look. These flakes can get caught in the mesh of your screen if your mesh count is too high, and none going onto the shirt itself. Glitter inks have larger, more obvious flakes to them, while shimmer inks will have smaller particles to give a more subtle look. A mesh size of 36 is ideal for glitter inks, though you can go up to a 64 mesh. For shimmers, an 86 mesh is recommended.
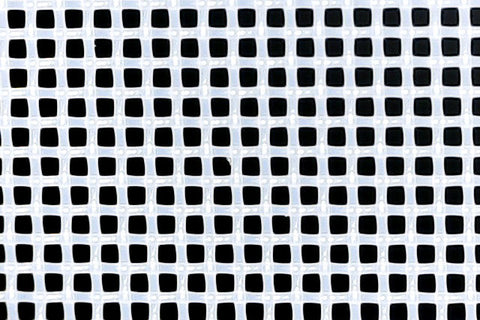
86 MESH COUNT
HIGH MESH COUNTS
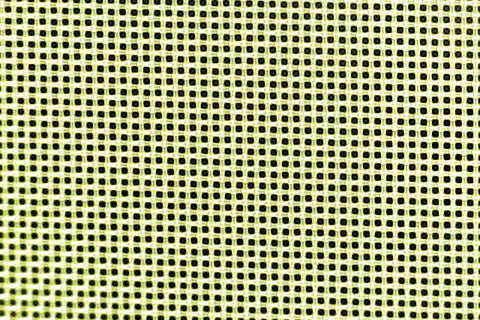
230 MESH COUNT
Higher mesh screens, 200 mesh and above, are most often used for finer detail images and thinner inks. Graphic, discharge, and water-based inks should be printed through screens of this mesh size. The higher mesh count helps to keep the thinner inks from flooding onto your substrate. If you would like to get a softer hand feel to your plastisol prints, these higher mesh counts can help as well. By printing the thicker ink through the finer mesh, much less of it is laid down, allowing a thinner ‘plate’ of ink. The results are a softer feel to the print. While your plastisol prints may feel softer, you might sacrifice the opacity of the ink by using a higher mesh count. If your design is meant to have very bright, vibrant colors, pay attention to how much ink your screen is letting you print.
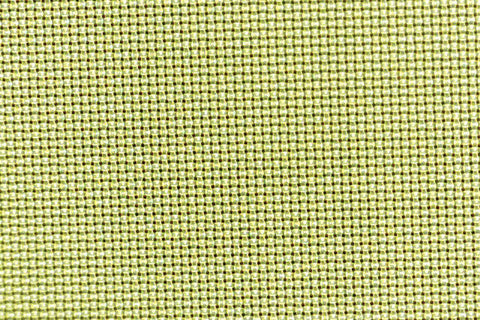
305 MESH COUNT
At the top end of the scale, you have a 305 mesh. This size is used for jobs with the highest level of detail, and fine halftone four color and simulated process prints. Fine halftone dots need very high mesh counts in order to hold and expose properly. Otherwise, as stated before, the halftones and lines will simply fall through the mesh, leaving you with a less than desirable image to work with.
Mesh counts above 305, such as 355, 380, and 400, are mainly used for graphic printing with UV inks. UV inks are extremely thin, and many times are used for high detail printing on signs, banners, or CDs. Using a higher mesh allows the automatic printers used in UV printing to regulate the amount of ink passed through the screen.
THIN THREAD VS. STANDARD THREAD
Hi-DRO, or thin thread, has long been the standard for printing water-based ink. Its thinner thread profile and wider dimensional openings allow water-based inks to flow through easily. Printers experience less screen clogging compared to standard mesh. Thin thread mesh lets you maintain and print higher levels of detail. Emulsion and ink are not restrained since the threads take up less space. Over the last several years, more shops have been gravitating towards using Hi-DRO for their plastisol prints, especially for their base prints.
Hi-TEX, or standard mesh, has a thicker thread compared to Hi-DRO. The Hi-TEX has been the workhorse of the plastisol textile industry for decades. The threads can hold high tension levels and are more resistant to tearing and popping while on the press, compared to thin thread meshes.
WHITE VS. YELLOW MESH
You may have noticed that some screens have yellow mesh while others have white mesh. Why is that?
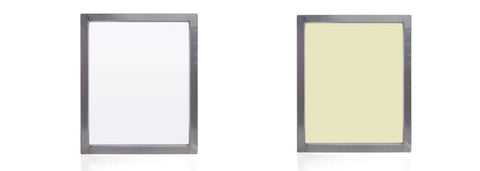
White mesh lets the emulsion expose faster. Although, the white thread causes the light to scatter, which can result in detail loss or fuzzy image edges. Since lower mesh counts need a thicker emulsion coating, they typically have white meshes to help speed up the exposing process.
Yellow mesh causes little to no light scattering, so you keep the details of the image. The trade-off is that it takes 30% longer to expose.
TYPES OF SCREEN FRAMES
WOODEN FRAMES
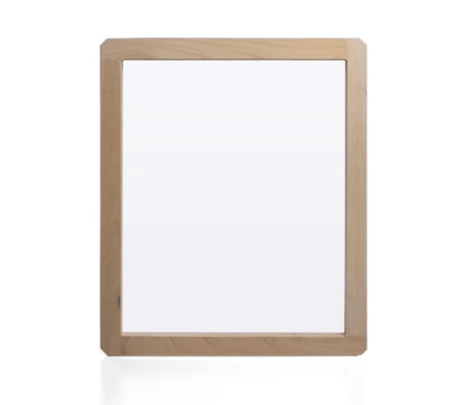
Wood screens are an affordable solution for beginning screen printers and printers looking to create permanent or long term designs in their screens. For longest life, wood screens should be cleaned with press wash and limited in-sink washing. Do not use in dip-tanks.
ALUMINUM FRAMES
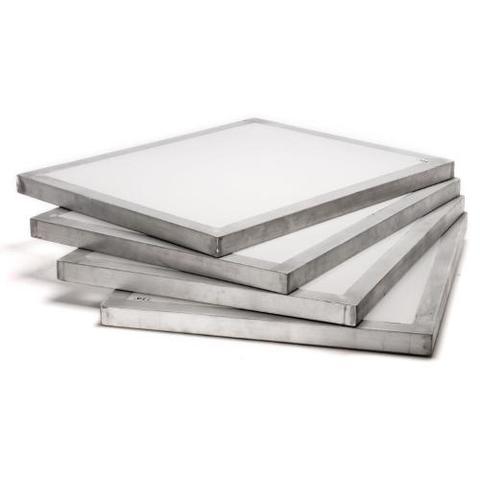
The advantage of an aluminum screen printing frame is the durability and longevity it retains. Unlike wood frames, aluminum frames will not warp when exposed to water in a dip tank or washout sink. This will insure a flat frame through thousands of prints to come. Aluminum frames are also light weight which makes shipping less expensive and saves you money in the long run. If you're looking to maximize performance in your shop, aluminum frames are a great item to add to your screen printing equipment.
ECO-FRAMES
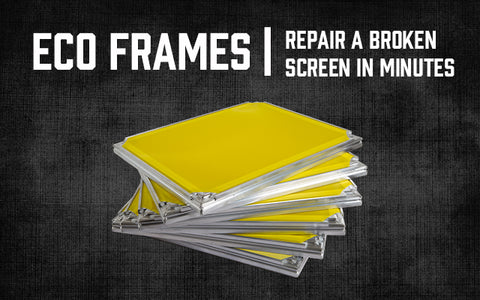
ECO Frames are frames where you can attach the mesh yourself. Having the ability to stretch the mesh yourself means you can get back into production quicker, can swiftly change mesh counts between orders, and will have more space in your shop. These frames are fit for printers who have been in the game for awhile, got a handle on screen printing and are looking for a new challenge, and need to clear some space in their shop. Learn more about the Eco-Frames.
EMULSION
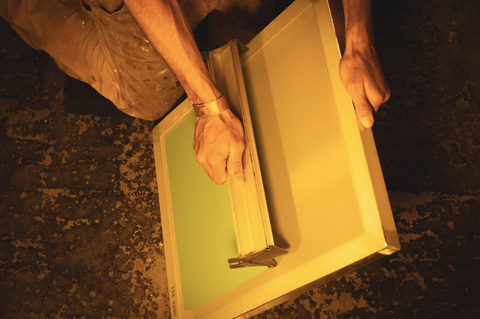
One last thing to consider is that different mesh sizes hold different amounts of emulsion, due to the size differences in the holes, and that can affect your exposure times. For instance, a 110 mesh screen will hold much more emulsion than a 305 mesh screen. While the difference isn’t extreme, you will have to vary your exposure times slightly for different mesh sizes. A finer mesh screen will expose faster than a lower mesh screen because of this factor. The difference is small enough that you should only have to vary as much as 5-10% in either direction, dependent on the mesh size.
Mesh count is a major factor when considering your print job. Too high or too low can disrupt your job and leave you with a less than desirable print and a lot of frustration. Always keep in mind what ink you’re using, and what kind of design you’re printing, and you’ll be choosing the right mesh counts without a second thought in no time.

