
Have you ever needed to reprint a job? Do you plan on hiring other screen printers who will need to know how to print a previous job? There’s a simple way to make sure you do it right every time: cataloging prints. Creating a catalog of prints is a great way to save all of your data and information from a job so you or someone else can repeat it later effectively, efficiently, and painlessly. All the hard work is already done. In this video, print expert Josh Wells shows you one easy way to catalog prints.
WHY SHOULD YOU CATALOG PRINTS?
Say your local grocery store came to you to print their logo on shirts for their employees. Six months later, they come back to you wanting another round of their original order. If you cataloged their original print, you’re able to replicate it in a cinch. Cataloging prints is data collection. You’re spending a few minutes now to note details that’ll help you reprint a job later. It’s also helpful to have notes on prints in case you receive an order later that’s similar to a previous job you did so you can use those notes to help you troubleshoot and find the best way to print the job. By cataloging prints, you’re just making life easier for your future self.
WHAT GOES INTO CATALOGING A PRINT?
You’ll want to include the final print that you created. You’ll also want to take note of everything that went into making the job possible as well as keep other assets like film.
What should you include in your catalog? Let’s find out.
NAME OF THE JOB AND PRINTED DESIGN
The two most obvious things to include in your catalog should be the job name and an example of the final print. The job name should be the customer’s name. If that customer does more than one print with you, include the name of the print as well. Final prints could be printed on a test pellon where it’s easy to write down notes on. Keep reading to learn an organized way to keep track of cataloged prints.

GARMENTS AND PRINT LOCATION
Make sure to include a breakdown of all the garments you printed (type of garment, material, brand, color, etc.), along with the location of print on that garment. If you printed a left chest design, for example, write down where the print fell on the garment. Make sure to include whether the location of the left chest print changed on any garment, as well as what type of garments you were printing on.
Do this with any print that you did on a garment: back prints, sleeve prints, and any other special print locations. Write down as much as you can about the job.
PRINT ORDER
You should have a suggested print order and suggested mesh counts on your initial spec sheet. Along with this, include a section that says what was used if changes were made. Write down the print order you used, squeegee durometer hardness and angle, number of print strokes, and anything else you’ll need to replicate the job in the future.
It’s also a great idea to record your flash and cure time and temp. If you changed your flash dryer height, it’s a good idea to record that too. The more notes you have, the better off you’ll be. You can get straight to printing without messing around with dialing in your times and temps again.
INKS USED
Make sure to record whether you used plastisol or water-based ink for the job. Write down which colors you used for the job as well. Did you mix PMS colors for the job? If so, record them in the spec sheet (along with any notes about color shift) so you can repeat the job. Make sure to record any special additives you might have used, such as hugger catalyst or curable reducer.
RELATED: WHAT IS COLOR SHIFT AND WHY DOES IT CHANGE THE COLOR OF INKS?

MESH COUNT
Make a separate darkroom section on your spreadsheet to record everything you’ll need to know in order to recreate the job in the future if you need to.
Record the mesh count, mesh thread type, tension, and coating technique you used for each screen. If you’re doing a SIM process job or a printing with special effects, recording your coating technique is especially important. Another good thing to include is the type of screen you used. If you’re using more than one type of screen in your shop, recording which type of screen you used for the job will help you out in the future.
RELATED: HOW TO MAKE A BETTER SCREEN FOR SCREEN PRINTING
EXTRA NOTES
Record anything you had to do to make this print sing. Issues with garments, suggestions for mesh count changes for next time, art adjustments, etc. Make a note of anything that would make printing this job again easier.
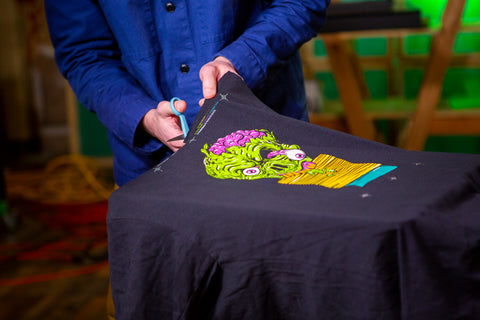
Now that you have collected all this information, what’s the best way to store them so you can easily refer to them when needed? If you cataloged the print by printing on a test pellon, you can make a book of them. Create a book by hole-punching the pelons in the top corner and running a carabiner or something similar through them. This way, you can flip through jobs easily without losing print samples. Place a piece of tape on the pelon and write out your notes on the piece of tape. The notes should include all the data you collected up to the point of finishing the job and tearing down the screens.

Package all this together with a final print example on the garment or relevant media for reference for the next time it is printed. Print your design on a test pellon or shirt fabric so you can save it easily. The next time you print this, your design must look as good or better than the print example.