Ever printed bright white ink on a red polyester shirt, only to find it mysteriously turned pink overnight? That’s dye migration. Whether you're printing on triblends, performance wear, or full poly garments, it can ruin a perfect job fast.
The good news? You don’t need to find out the hard way. In this post, you’ll learn how to use Viscosity Buster to test for dye migration before you print. It’s fast, easy, and saves you time and money on press.
Why Viscosity Buster Works for Testing

Viscosity Buster is a plastisol ink modifier that reduces ink viscosity. In this case we're using it test as it behaves similarly to heat-activated ink during curing, helping simulate real-world conditions. By applying heat and pressure, you can expose potential dye migration without having to run a full production test.
What You Need to Run the Test
- Heat press (a hat press works great)
- 100% cotton white fabric swatch (ringspun preferred)
- Viscosity Buster
- Safety glasses and gloves
- Garments you plan to print on
Step-by-Step: Dye Migration Testing

- Apply a quarter-sized amount of Viscosity Buster to the center of your white cotton swatch.
- Choose a hidden part of the garment (such as the lower hem on the back).
- Place the cotton swatch face down on the garment, directly over the dyed polyester.
- Press at 320°F for 30 seconds.
- Peel the swatch and inspect for staining. Dye migration will be visible right away.
How to Read the Results

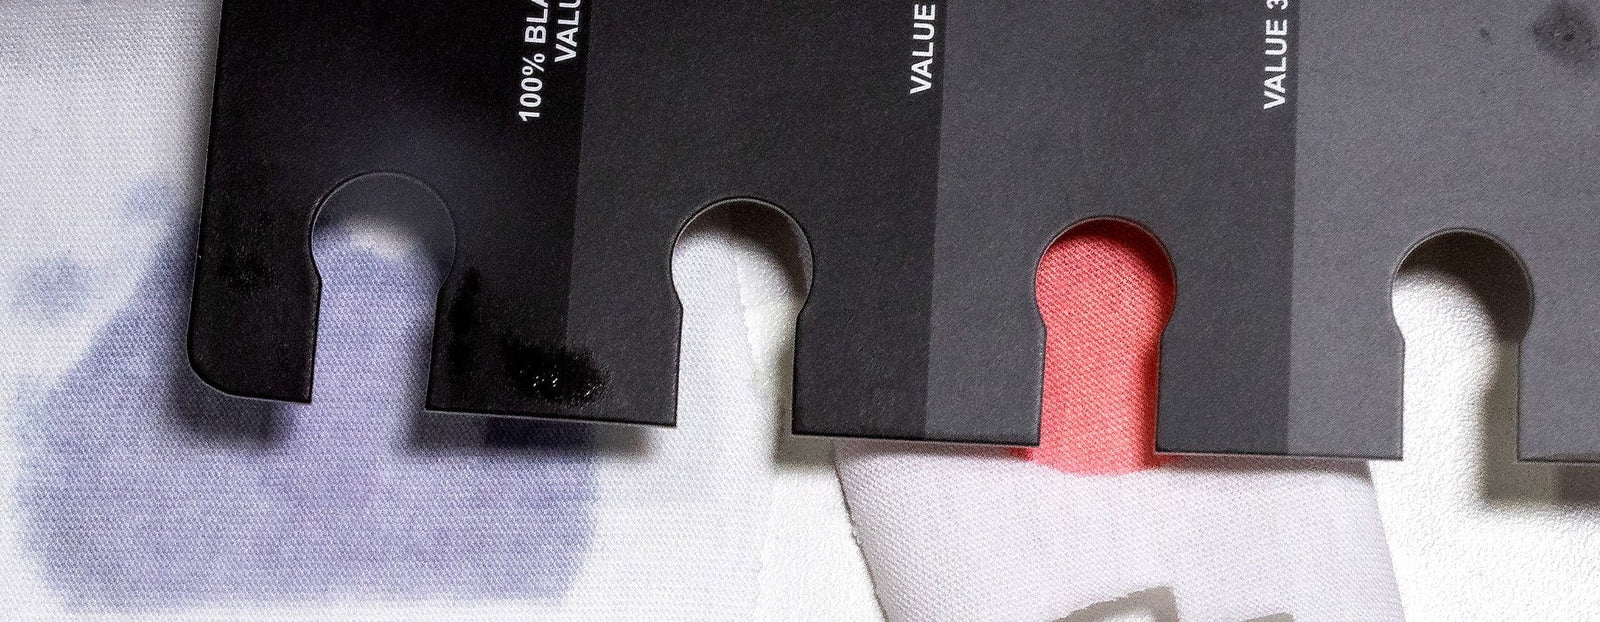
To evaluate dye migration, use a 10-step gray scale card. These are easy to find online for just a few dollars. The scale ranges from 10 (white) to 1 (black). The more dye that migrates into the cotton swatch, the darker the stain and the lower the number.
We compare the result against both the gray scale and the practical version of the AATCC 1–5 scale:
Gray Scale Card Interpretation:
- 10 to 8: No visible staining; safe to use standard white inks
- 7 to 5: Mild staining; switch to low bleed or polyester inks
- 4 or below: Heavy staining; use a blocker underbase
AATCC 1–5 Reference:
- 5: No staining; ideal for standard inks
- 3 to 4: Noticeable migration; use poly or low bleed inks
- 1 to 2: Heavy migration; blocker underbase recommended
RELATED: How to Screen Print on Polyester with a Blocker Base
Fabric Examples from the Video

- Allmade Night Sky Navy Triblend: Rated around 2.5; moderate dye migration
- Allmade Space Black Triblend: Rated around 3.5; minimal migration
- 100% Red Polyester: Around 1; severe bleeding
What to Use Based on Results

Once you know your garment’s dye migration level, you can choose the right ink and underbase:
- Low migration (4 to 5): Use low cure inks like FN-INK or Wilflex Epic RIO
- Moderate migration (2 to 4): Use inks formulated for polyester, such as Wilflex™ EPIC Polywhite LC
- Heavy migration (1 to 2): Apply a blocker underbase like FN-INK™ Barrier Black
Take Control of Dye Migration
Dye migration can be sneaky. It might not show up until hours after printing. But with a simple Viscosity Buster test, you’ll catch it before it costs you ink, time, or finished garments. Test smart and print with confidence.
Get your Viscosity Buster now and take the guesswork out of printing on polyester.