BENEFITS:
- LED enhances the amount/levels of possible details captured compared to UV bulbs.
- LED light sources expose screens quickly and creates a harder, more durable stencil for better on-press longevity.
- LED bulbs consume less energy and last more than 10,000 hours, so you don’t have to replace them as often.
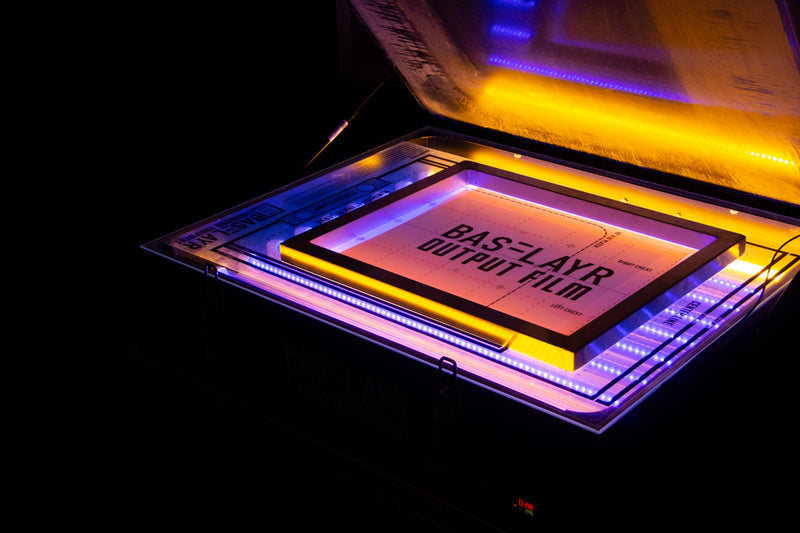
LED exposure is the new standard. It speeds up the process, produces stronger stencil development, and allows screen printers to capture more details. The DIY LED Screen Exposure Bulb is a great way to expose a screen with a DIY screen printing setup.
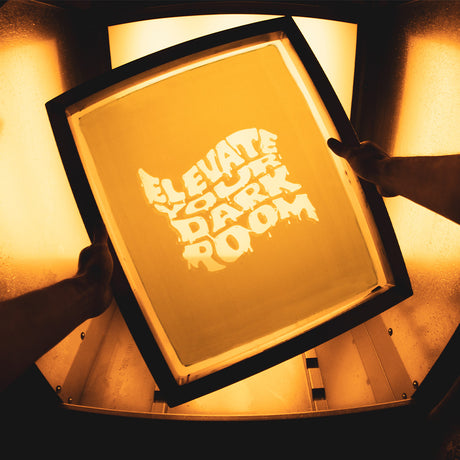
To use the bulb, simply screw in the bulb to any light fixture and safely expose a screen with the recommended Baselayr Long Lasting Emulsion for 10-11 minutes in a light safe environment.
Replacing a UV bulb? It’s easy. Just screw in the new bulb and continue exposing screens as normal. You don’t need to change your darkroom process to get better results.
PRODUCT SPECS:
- Electrical: 110v 9W 60 Hz
- Mount: E27 Base
- UV Wavelength: 395-405nm
HOW TO EXPOSE A SCREEN:
- DIY bulb recommended for smaller size screens (16x20 or 20x24).
- Source a light fixture to power the bulb. It’s best to use a fixture with a reflector on the back to direct the light as much as possible.
- In a light safe environment, center the bulb directly above the middle of the screen at a height of 12-15 inches. The higher the bulb is, the longer the exposure time, and the more coverage it gives to the screen. The lower your bulb is, the shorter the exposure time, but the more direct the light source is to the center of the screen. For larger screens, use a higher distance and increase exposure time.
- Place the film in reverse onto the shirt side of the screen and tape to screen. If the transparency is not opaque, the screen will not expose as well (i.e. loss of details captured on stencil).
- Add a piece of thin, optically clear glass on top of the film to increase the positive pressure during exposure. This is optional but strongly recommended, as it will increase the detail gained during exposure.
- Expose for 10-11 minutes in a light safe environment. Ensure the screen is bone dry before exposing. Dry and expose screens in a room under 40% humidity. The more emulsion the screen has, the longer it will take to expose. Increase exposure times for lower mesh counts.
- Rinse out your screen in a light safe environment
EXPOSURE TIPS:
If the image does not expose or wash out properly, try making the following adjustments:
- First, make sure the space you are in is light safe. Block out light from windows, under doors, etc. and use light safe bulbs.
- Apply a thin coat of emulsion to the screen and allow it to dry so it is smooth to the touch. If the emulsion is tacky, coat it with less emulsion or dry it for a longer period of time. Use a clean fan or dehumidifier to speed up the drying process.
- The film must be dark. For more information about getting a darker film positive, check out this blog.
- The screen should have strong, positive contact between the film and the screen mesh. Add a sheet of glass and/or foam under the screen to increase positive contact.
- If the screen exposes but is slimy, increase exposure time by 1-2 minutes and try again.